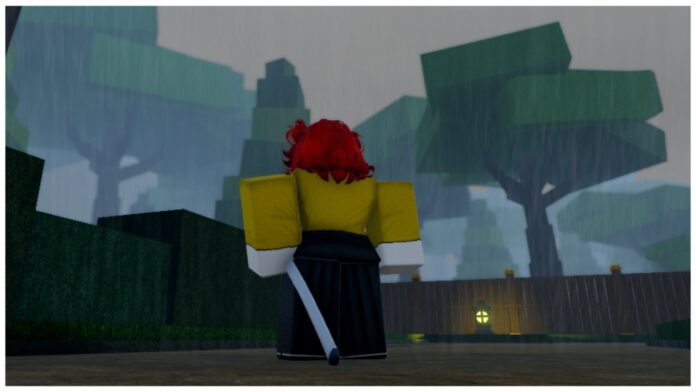
To accompany your Breathing Style, you’ll need a capable blade. This Onikami Nichirin Blade Guide tells you how to obtain your first Nichirin including how to change its colours and resting position.
Check out Onikami on Roblox. If you’re after more content on this title, take a look at my complete Onikami Clans Guide and Onikami Slayer Marks Guide.
Onikami Nichirin Blade Guide
When you first join Onikami, you’re guided to a shop across a bridge where your first blade awaits. The flimsy sword appears chipped and weak, so you’ll no doubt want to get your hands on a Nichirin Blade.
Following the canonical events of Demon Slayer, you’ll receive your first Nichirin Blade after completing Final Selection. This masterfully forged sword is handcrafted specifically to destroy Demons, being your main combat option during battles. The Blade becomes infused and carries your Breathing Style to deal devastating attacks upon enemies.
To participate in the Final Selection, seek out the Final Selection NPC who lingers around Otama Village (Starting Village). Only players who reach Level 15+ and have NO Breathing Stryle may enter Final Selection.
On success, you’ll next need to head to Swordsmith Village and speak to the Fumio NPC. He gives you a quest to bring Nichirin Ore to him in exchange for forging your blade.
Changing Blade Appearance
Your Nichirin Blade receives a randomly assigned colour once forged. To change this, head to Dunas Village and seek out the Change Nichirin Colour NPC who stands behind an anvil. When interacting, you’ll be able to pay via Robux or in-game cash for a randomised reroll.
- 1,500 Yen (500 Yen if in the Haganezuka Clan)
- 25 Robux
Changing Blade Resting Position
Upon receiving your first blade, you’ll have an assigned resting position for your blade. To change this, head to Swordsmith Village and chat with the Change Nichirin Position NPC who charges 4,000 Yen.
- Rested in the player’s left hand
- Rested on the player’s back
- Rested on the player’s lower waist at the back


